Is it just me, or do you seem to buy a lot on holiday?
I recently spent a week up in sunny Queensland on holiday with family, which was a welcome retreat from the horrible wet weather down here in Melbourne!
And like with every trip I take, I always save my funds for a few weeks before hand so I can afford to treat myself if I want to.
And I treated myself. Quite a bit.

Lioness body-con backless dress - $20.00
I don't really wear form-fitting dresses - I prefer A-line or tea dresses because they're super cute and feminine - but when I saw the print on this one I thought it was just so pretty! It's covered in these gorgeous oriental flowers and I must say, when I wear it I do feel a little more Asian than usual #lol Plus how cute are the cap sleeves and back cut-out?
may the label Ruby Dress - Princess Polly $40.00 (on sale)
On a day out by the beach, I found this amazing clothing store that sold Cameo, Finder Keepers and may the label AND ALMOST EVERYTHING WAS ON SALE. I think I actually tried on every piece in the store; I was in there for about two hours #notajoke I ended up falling in love with this super pretty and office-appropriate (with a blazer) dress. The material is kind of sturdy (think Cue) and I don't normally wear red OR animal print. But I love it! And it was reduced to $40 when may the label dresses can go over $200 quite easily! Score!
 paper heart Tribal Diamond Dress - Go Girl $44.95 (with discount)
I love cute fit-and-flare dresses, so when I saw this one, I knew I had to try it on! The material is fairly heavy so it's great for winter and it sits in the middle of the top half of my legs, so it's a fun length for going out in (but still modest!). I find I've been loving monochrome lately too, so this black and white Aztec-ky print was a sure thing for me. It was actually originally $54.95 but the print is slightly faded in one section so I got $10 off (and I can totally fix that with a fabric pen!).
 Flat stud waist belt - Princess Polly $15 (reduced from $30)
I tend to wear a lot of dresses that go in at the waist but I don't actually own any belts that are formal enough to wear with a nice dress at night. So when I saw this lovely and shiny one (on sale!) I was pretty pleased! It goes really nicely with the red may the label dress above.

Pearl Euro Style Neckline Brooch - eFoxcity $9.95
I'm a big fan of wearing collared shirts or anything with a peter pan collar, but sometimes that makes wearing a necklace difficult! So when I saw this collar cuff I thought it was such a good idea. All you do is pin each end to your collar - easy right! I like that this one has pearls that are linked together so I can shorten or elongate it if I need to depending on what I wear it with.
Lilac Rose Earring Studs - Evolve $19.95
I've got my seconds done (two earrings in each lobe) so I'm always looking for pretty studs to wear (plus I seem to lose my earrings really easily) and these cute little lilac pair looked so nice against my dark hair. I bought them at the most adorable shop; it's actually a shop for mums and babies, but they had some really gorgeous gifts and jewellery!
 Rainbow Polkadot Washi Tape - Evolve $4.95
Yeah, I bought sticky tape, what of it. But it's not your usual sticky tape! It has a pattern all over it, and I've been seeing Pinterest tutorials for how to use washi tape to brighten up your home and I wanted to try it for myself! Think framing photos with this tape and laminating books. I actually bought washi tape from this shop before and made a special trip to go back and get another one haha
Rimmel London Match Perfection Foundation in "200 Soft Beige" - Priceline $8.97 (half price)
Rimmel London Scandaleyes Waterproof Kohl Kajal in "005 Nude" - Priceline $4.97 (half price)
Normally I wear white pencil liner in my waterline to help brighten up my eyes, but I heard that wearing a nude liner looks more natural (makes sense!). So I picked up this liner half price and I'm impressed! I already have this liner in black and cobalt blue and this nude shade is just as creamy and pigmented. And it really does look more natural than white.

Rimmel London Apocalips Lip Lacquer in "Big Bang" - ASOS $7.01 (on sale)
I already adore the Apocalips lip lacquers and even wrote a column on them for Girlfriend Magazine, but one thing that shocked me was that "Big Bang" wasn't released in Australia! I was waiting and waiting for the range to be released (I was a lucky duck and got my hands on "Stellar" and "Celestial" a few months early) because I wanted that particular shade, and it was never brought to Australia! I had to order this off ASOS but it was worth it; the colour payoff of this lipstick-turned-gloss is incredible.
Lime Crime Velvetine in "Red Velvet" - Princess Polly $22
Speaking of gorgeous red lip lacquers, THIS IS THE MOST GORGEOUS MATTE RED IN THE WORLD. I've been trying to buy this product for ages but the only stockist I know in Melbourne would literally sell out in a day every time they got a delivery. So when I saw it on the counter at Princess Polly, I asked the girl to hold it for me straightaway. And now I'm the very happy owner of a beautiful Red Velvet Velvetine!
Maybelline ColourSensational Vivids Lipstick in "902 Fuchsia Flash"- Priceline $16.95
I think this is the range that came out before the Colour Whispers (which only just arrived in Australia). I just really wanted to try a bright bright pink (I already own "Pink Peony" by Innoxa but I find the formula a bit drying) and I love this shade! It really IS super bright, but it's a blue toned pink which suits my skin tone.
Nivea Visage Young Control Shine! Mattifying Gel Cream - Chemist Warehouse $7.99
This is my go-to moisturiser because I have naturally oily skin. I've literally been using it for years and then I couldn't find it in stores so I started using the Nivea Daily Moisturising Cream which just ran out. So I was stoked to find this on shelves again! It's a great base for makeup and really does keep your skin shine free for longer.
Victoria's Secret Body Butter in "Love Spell" - Victoria's Secret Brisbane Airport $17
Funny story with this; I had just got off at Brisbane Airport when I saw the VS shop and I dashed in to get this product. I LOVE the scent, it's sweet but not overpowering, and really fruity and yummy. I had maybe five minutes to get it before I had to leave, and the girl at the counter took FOREVER to wrap it up! She began slowly wrapping it up in tissue paper, then added more tissue paper to the bag, then started spraying the bag with perfume, and I'm just like, I NEED TO GET GOING I DON'T NEED IT WRAPPED, and she just smirked at me and said it was store policy. Schmore Schmolicy. She wanted to make me late. Regardless, I love this product!
Purple Pompom Towel - Aquadiva $44.95
I've had a thing for pompoms lately and my parents treated me to a new towel when we were in Queensland for taking to the beach or the pool. Thank you! It's ridiculously soft for a towel and I'm scared that putting it in the wash will make it rough. I'll savour the softness while I can.
Baby Sylvester Soft Toy - Warner Brothers Movieworld $FREE
How adorable is this little cutie? I went to Movieworld with my younger brother (you can see some of the snaps below!) and was tossing up whether to get a soft toy or not as a souvenir. I decided not to, but then I saw this "Everyone Wins!" sign so I thought I'd enter for fun. For $5 you get a scratch card, and each one is numbered. Depending on what number you find dictates what sort of prize you can choose. And I won a soft toy of baby Sylvester the cat! So I got my toy in the end ^-^
Here are some of the happy snaps that my brother and I took in Movieworld. Just being goofballs!
 What is your favourite holiday memory? It could be an experience or your favourite souvenir; let me know in the comments below!


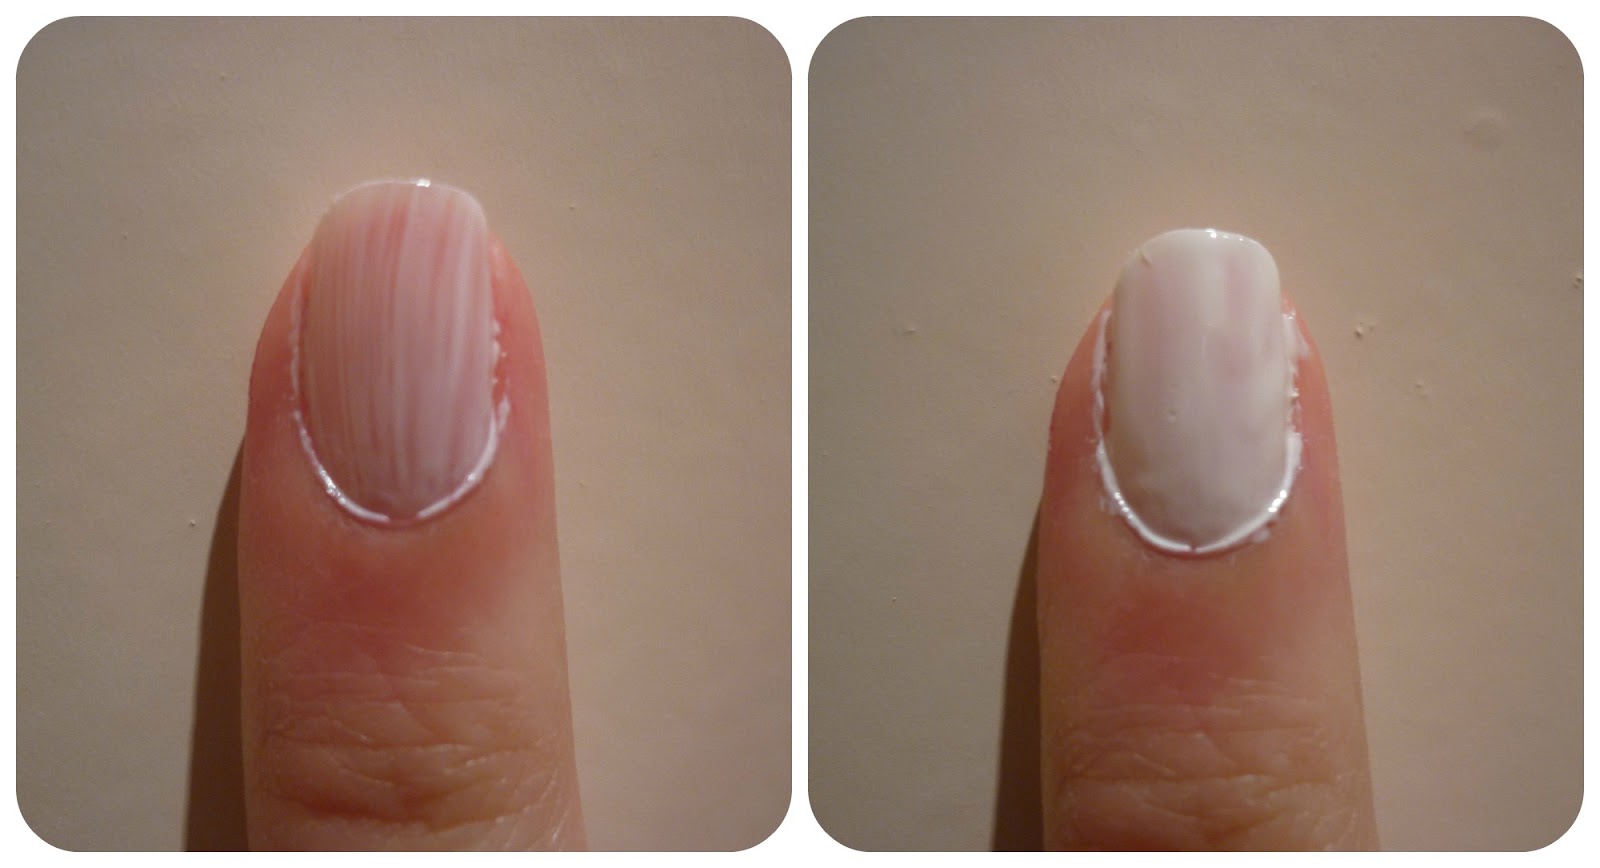 I wanted to try out those stencils first, so I waited for my white polish to dry.


